在阅读完本篇关于 HttpClient C# 代理配置的教程后,你将学到:
- HttpClient 是什么,以及它在 .NET 中发起 HTTP 请求所扮演的角色
- 为什么应该在 C# 中使用代理
- 如何在 HttpClient 中设置代理
- 如何使用 HttpClient 处理代理认证、SSL 证书错误以及 IP 轮换
让我们开始吧!
什么是 .NET 中的 HttpClient?
HttpClient 是一个用于在 .NET 中发起 HTTP 请求并接收 HTTP 响应的类。它属于 System.Net.Http 命名空间,是 .NET(以及 C#)中的默认 HTTP 客户端。
HttpClient 支持:
- 所有的 HTTP 方法,包括 GET、POST、PUT、PATCH 和 DELETE
- 异步通信
- 请求头和 Cookie 自定义
- 请求体自定义
- 代理集成
这些特性,再加上它在 .NET 标准库中的官方支持,使得 HttpClient 成为 C# 中常用的 HTTP 请求首选。
为什么要在 C# 的 HttpClient 中设置代理
当从事网络爬虫、数据采集或其他与互联网相关的任务时,保护你的在线身份至关重要。其中一个方法就是通过代理服务器来路由你的流量。
代理服务器是你和目标网站之间的中间人,通过为 HttpClient 提供以下好处:
- 隐藏 IP 和位置:目标服务器只能看到代理服务器的 IP,而无法看到你的真实 IP。
- 增强隐私:代理通过隐藏你的真实身份,让他人更难追踪到你。
- 避免 IP 封禁:在 C# 网络爬虫里,使用代理可帮助你绕过速率限制,这是采集任务中非常关键的一点。
- 绕过地域限制:使用位于特定区域的代理服务器可从家中访问针对该地区限制的内容。
因此,在 HttpClient 中使用代理不仅可以提高在线安全性,也能提升爬虫任务的稳定性。
使用 HttpClient 设置代理:分步指南
按照以下步骤来学习如何在 .NET 的 C# 中将代理集成到 HttpClient。
先决条件
在开始之前,请确保准备以下内容:
- C# IDE:你可以选择 Visual Studio 或 Visual Studio Code。本教程中,我们将使用 装有 C# 插件的 Visual Studio Code。
- 本地安装 .NET 8+:你需要最新版本的 .NET 或任何版本 ≥ .NET 8。本文使用 .NET 9。
如果尚未安装所需工具,可以使用以上链接进行下载并按照安装向导进行操作。
步骤 #1:项目初始化
创建一个新的文件夹用于存放 .NET 项目,并在终端中切换到该文件夹:
mkdir httpclient-proxy
cd httpclient-proxy
随后,在该文件夹内初始化一个 .NET 控制台应用:
dotnet run console输出结果应如下所示:
The template "Console App" was created successfully.现在,在你的 IDE 中打开该项目文件夹:
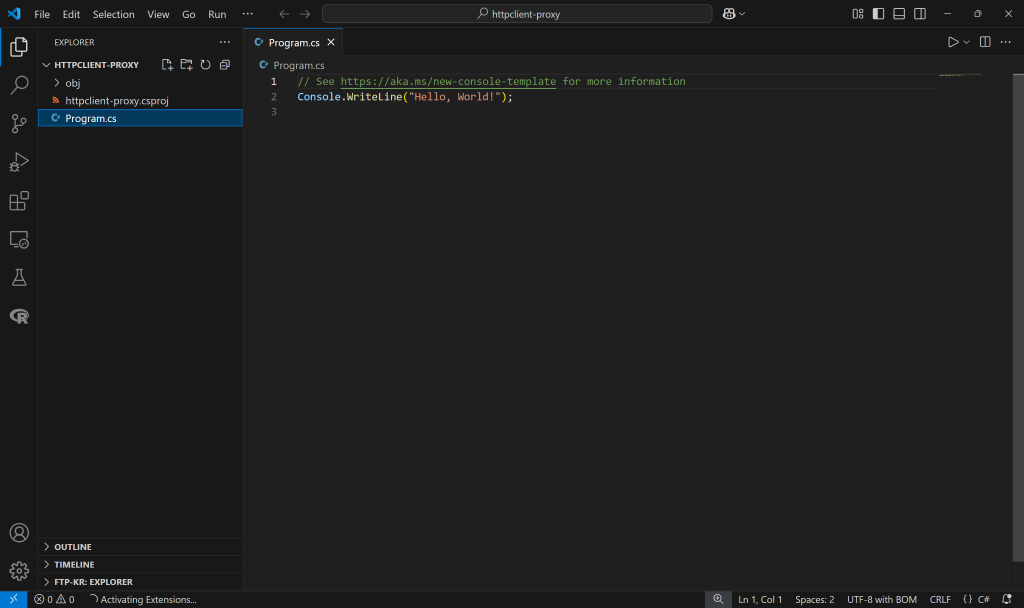
你应当能看到模板生成的文件,其中最重要的是 Program.cs。它目前包含一段简单的 “Hello, World!” 脚本。完成本节后,它将成为配置 C# HttpClient 代理的脚本。
为了确保一切正常运行,可以尝试执行:
dotnet run结果应为:
Hello, World!很好!至此,你已经在 Visual Studio Code 中拥有了一个可用的 C# 项目。
步骤 #2:初始化 HttpClient
在 Program.cs 中加入以下代码,用于使用 HttpClient 发送请求:
using System.Net;

class Program
{
  static async Task Main()
  {
    // initialize an HttpClient instance
    using HttpClient client = new HttpClient();

    // the target URL
    string url = "https://httpbin.org/ip";

    // send an async GET request to the endpoint
    HttpResponseMessage response = await client.GetAsync(url);

    // read the response content as a string
    string responseBody = await response.Content.ReadAsStringAsync();

    // print the response to the console
    Console.WriteLine(responseBody);
  }
}
上述代码初始化了一个 HttpClient 实例,并使用它的 GetAsync() 方法来访问 /ip GET 接口(HTTPBin.io 项目的一部分)。该 API 会返回调用者的 IP 地址,因此非常适用于测试代理配置是否生效。原因很简单:当你将代理整合到 HttpClient 后,从 /ip 获得的 IP 应与真实 IP 不同。
如果你现在运行上述脚本,输出可能如下所示:
{
  "origin": "55.17.80.196"
}
这里 origin 中的 IP 地址即是你的出口 IP。
很好!下一步就是获取一个可用的代理 URL。
步骤 #3:获取代理
要在 HttpClient 中集成代理,首先需要拥有一个代理服务器。
网上有许多平台提供免费代理,但须谨慎——维护代理基础设施成本很高,如果某个服务免费提供代理,就需要考虑它的盈利模式。通常,它们可能会进行数据窃取或其他可疑操作。
因此,免费代理最好只用于学习目的,而不应在生产环境中使用!
如果你需要可靠的代理,可以考虑值得信赖的代理提供商,它们通常会提供免费试用或免费额度。比如,你可以尝试 我们的免费代理。
通常一个代理 URL 的格式如下:
<protocol>://<host>:<port>其中:
protocol代表代理类型(如http、https、socks5等)host代表代理服务器的域名或 IPport代表代理服务器对外开放的端口
在本示例中,我们假设代理 URL 为:
http://66.29.154.103:3128在 Program.cs 中存储这个地址:
string proxyUrl = "http://66.29.154.103:3128";接下来让我们看看如何使用 HttpClient 加载这个代理!
步骤 #4:代理集成
HttpClient 允许你通过 HttpClientHandler 类来指定代理。该类可对通过 HttpClient 发送的 HTTP 请求进行底层控制。
其中,HttpClientHandler 拥有一个 Proxy 属性,可以接收一个 WebProxy 对象来存储代理服务器的相关配置:
WebProxy proxy = new WebProxy
{
  Address = new Uri(proxyUrl),
};
然后,将这个 proxy 传给一个 HttpClientHandler 实例:
HttpClientHandler handler = new HttpClientHandler
{
    Proxy = proxy,
};
最后,将 HttpClientHandler 传给 HttpClient 的构造函数:
using HttpClient client = new HttpClient(handler);
完美!这样就完成了 HttpClient C# 的代理集成。
步骤 #5:把所有代码整合在一起
你的最终 HttpClient 代理集成脚本可能是这样:
using System.Net;

class Program
{
  static async Task Main()
  {
    // initialize a new proxy object
    string proxyUrl = "http://66.29.154.103:3128"; // replace with a valid proxy URL
    WebProxy proxy = new WebProxy
    {
      Address = new Uri(proxyUrl),
    };

    // define an HTTP client handler with the given proxy
    HttpClientHandler handler = new HttpClientHandler
    {
      Proxy = proxy,
    };

    // initialize an HttpClient instance with proxy integration
    using HttpClient client = new HttpClient(handler);

    // the target URL
    string url = "https://httpbin.org/ip";

    // send an async GET request to the endpoint
    HttpResponseMessage response = await client.GetAsync(url);

    // read the response content as a string
    string responseBody = await response.Content.ReadAsStringAsync();

    // print the response to the console
    Console.WriteLine(responseBody);
  }
}
执行脚本:
dotnet run结果应当类似:
{
 "origin": "66.29.154.103"
}注意:/ip 接口返回的 origin 中的 IP 地址即是代理服务器的 IP,这证明你的真实 IP 已成功隐藏。
警告:免费代理经常会失效且不稳定。在你看到这一教程的时候,示例中使用的代理可能已经不能用了。请在实际测试时,用最新可用的代理替换 proxyUrl。
HttpClient 代理集成的高级用例
你已经学会了在 C# 中如何为 HttpClient 配置代理,不过还有一些更高级的场景值得关注。
代理认证
高级代理通常需要认证才能使用,以限制只有被授权的用户才能访问。受保护的代理 URL 通常使用如下格式:
<protocol>://<username>:<password>@<host>:<port>其中 username 和 password 为代理的登录凭证。
在 HttpClient 中,可以使用 WebProxy 的 Credentials 属性来进行代理认证。该属性接受一个 NetworkCredential 对象,例如:
WebProxy proxy = new WebProxy
{
  Address = new Uri(proxyUrl),
  // specify proxy authentication
  Credentials = new NetworkCredential("<username>", "<password>"),
};
可以从你的代理 URL 中提取 <username> 和 <password>,然后填入到上述示例中。
因此,使用需要认证的代理进行集成的完整代码类似:
using System.Net;

class Program
{
  static async Task Main()
  {
    // initialize a new proxy object
    string proxyUrl = "<protocol>://<host>:<port>";
    WebProxy proxy = new WebProxy
    {
      Address = new Uri(proxyUrl),
      // specify proxy authentication
      Credentials = new NetworkCredential("<username>", "<password>"),
    };

    // define an HTTP client handler with the given proxy
    HttpClientHandler handler = new HttpClientHandler
    {
      Proxy = proxy,
    };

    // initialize an HttpClient instance with authenticated proxy integration
    using HttpClient client = new HttpClient(handler);

    // the target URL
    string url = "https://httpbin.org/ip";

    // send an async GET request to the endpoint
    HttpResponseMessage response = await client.GetAsync(url);

    // read the response content as a string
    string responseBody = await response.Content.ReadAsStringAsync();

    // print the response to the console
    Console.WriteLine(responseBody);
  }
}
避免 SSL 证书问题
当你在 HttpClient 中配置了代理后,可能会由于 SSL 证书验证失败而导致请求无法正常进行,产生类似如下的错误:
Unhandled exception. System.Net.Http.HttpRequestException: The SSL connection could not be established, see inner exception.
 ---> System.Security.Authentication.AuthenticationException: The remote certificate is invalid because of errors in the certificate chain: UntrustedRoot
这种情况通常出现在代理使用的是自签名的 SSL 证书。
如果你信任这个代理(只在你确定安全的前提下),可以通过关闭 SSL 验证来规避这个问题,方法如下:
HttpClientHandler handler = new HttpClientHandler();
handler.ClientCertificateOptions = ClientCertificateOption.Manual;
handler.ServerCertificateCustomValidationCallback = (httpRequestMessage, cert, cetChain, policyErrors) =>
{
  return true;
};

using HttpClient client = new HttpClient(handler);
以上代码通过自定义回调覆盖了默认的证书验证逻辑,并始终返回 true。
注意:禁用 SSL 验证将暴露你的连接,可能遭受中间人攻击(MITM)。只有在你完全信任代理并清楚此举会带来的风险时才可使用。
实现代理轮换
如果你在同一个代理上频繁发送请求,目标网站最终可能会封禁该代理 IP。为避免这种情况,你可以在每次请求前轮换使用不同的代理。
实现代理轮换的大体思路如下:
- 准备一个包含多个代理服务器地址的列表
- 在每次请求前都随机挑选一个代理地址
- 将这个代理地址配置到 HttpClient 中
该算法可以实现为下面的示例代码:
using System.Net;

class Program
{
  static async Task Main()
  {
    // get a random proxy URL
    string selectedProxyUrl = GetRandomProxyUrl();

    // configure the random proxy
    HttpClientHandler handler = new HttpClientHandler
    {
      Proxy = new WebProxy
      {
        Address = new Uri(selectedProxyUrl),
      },
    };

    // perform a GET request through the random proxy
    using HttpClient client = new HttpClient(handler);
    string url = "https://httpbin.org/ip";
    HttpResponseMessage response = await client.GetAsync(url);

    // read the response content as a string and print it
    string responseBody = await response.Content.ReadAsStringAsync();
    Console.WriteLine(responseBody);
  }

  static string GetRandomProxyUrl()
  {
    // the list of proxy URL to rotate from
    List<string> proxyUrls = new List<string>
        {
            "<protocol_1>://<proxy_host_1>:<port_1>",
            // ...
            "<protocol_n>://<proxy_host_n>:<port_n>",
        };

    // return a random proxy URL from the list
    Random random = new Random();
    int index = random.Next(proxyUrls.Count);
    return proxyUrls[index];
  }
}
上述方法的问题在于:
- 涉及重复的样板代码
- 你需要一个可靠且数量较多的代理池,通常是付费的
幸运的是,还有更高效的方法来在 C# 中实现 IP 轮换!
Bright Data 提供的旋转代理可自动切换出口 IP,而无需手动轮换代理。它们拥有大约一亿的 IP 覆盖,分布于 195 个国家/地区,具有极高的网络在线率,成功率可达 99.9%。
在下一章节,你将学习如何在 HttpClient 中结合 Bright Data 的旋转代理。
在 HttpClient 中使用 Bright Data 代理
Bright Data 拥有当今规模数一数二的代理服务器网络,服务于世界 500 强公司和超过 20,000 名客户。该全球代理网络包括:
- 数据中心代理 – 超过 770,000 个数据中心 IP
- 住宅代理 – 超过 7,200 万个住宅 IP,覆盖 195 多个国家
- ISP 代理 – 超过 700,000 个 ISP IP
- 移动代理 – 超过 700 万个移动 IP
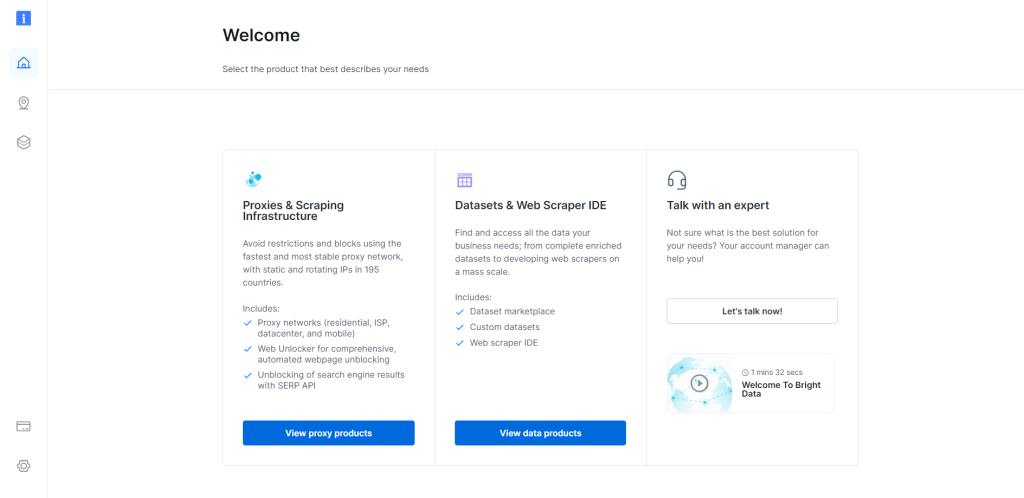
按以下步骤操作,通过 HttpClient 使用 Bright Data 的住宅代理。如果你已有账号,可以 登录 Bright Data;若没有,可免费创建账号。登录后,将进入用户控制台:
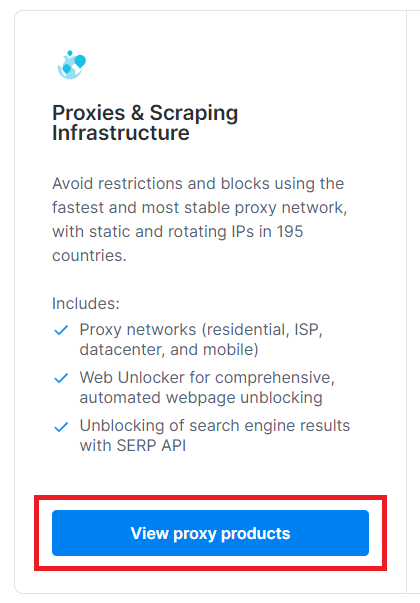
点击 “View proxy products” 按钮继续:
在 “Proxies & Scraping Infrastructure” 页面:
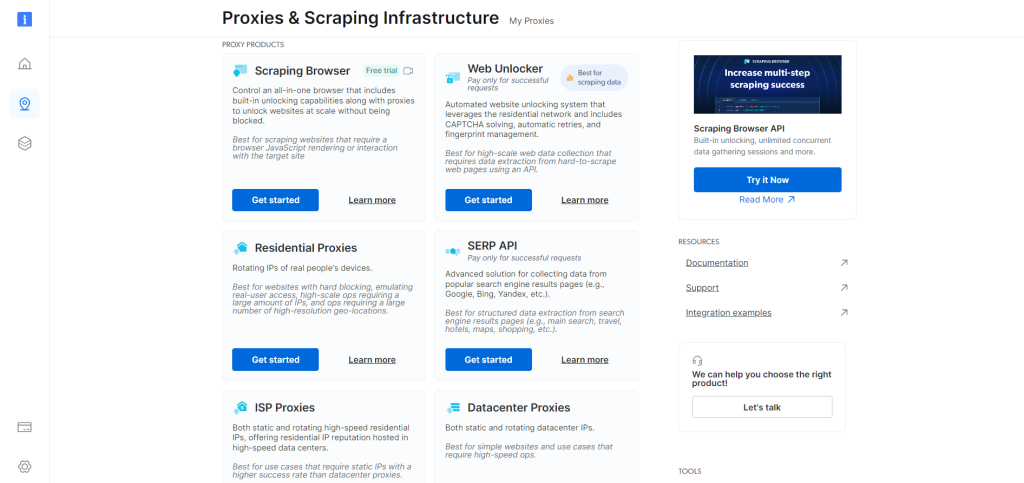
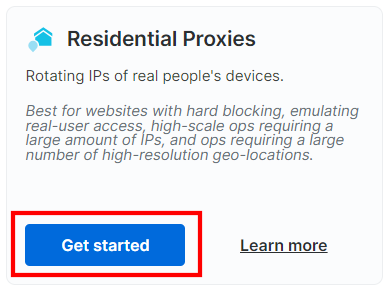
下拉找到 “Residential Proxies” 模块,点击 “Get started”:
在住宅代理服务配置页面,你可以根据需求进行自定义。如果有任何疑问,可随时 联系 24/7 客服:
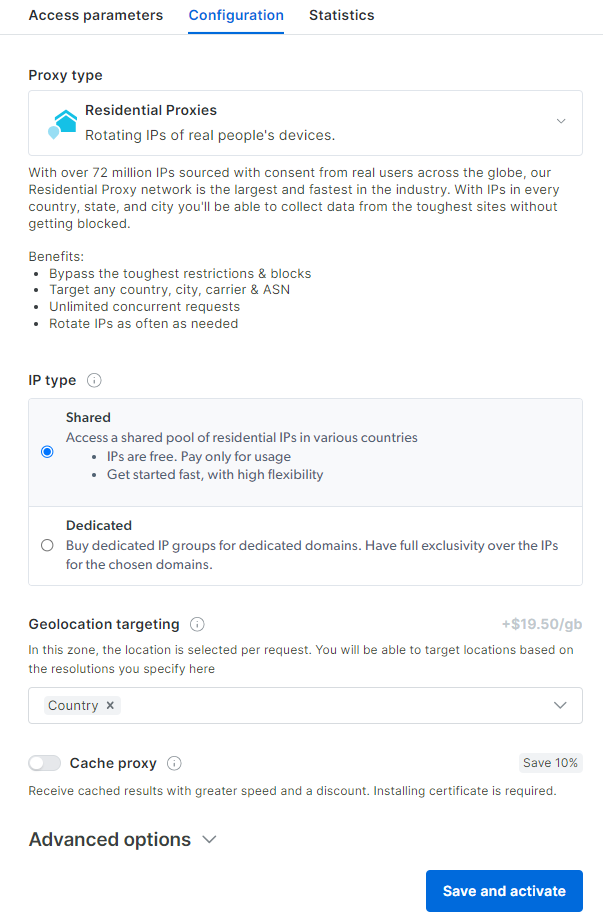
访问 “Access parameters” 标签以获取代理的 host、port、username 和 password:

注意 “Host” 字段中已经包括端口信息。
有了这些信息后,就可以构造你的代理 URL 并在 C# 中通过 WebProxy 使用:
WebProxy proxy = new WebProxy
{
  Address = new Uri("http://<brightdata_proxy_host>:<brightdata_proxy_port>"),
  Credentials = new NetworkCredential("<brightdata_proxy_username>", "<brightdata_proxy_password>"),
};
将 <...> 替换成各自对应的 Bright Data 代理信息。
开启 “Active proxy” 设置,并按照后续向导操作,即可完成配置!
下面这段代码展示了如何在 C# 中使用 HttpClient 集成 Bright Data 代理:
using System.Net;

class Program
{
  static async Task Main()
  {
    // initialize a new proxy object
    WebProxy proxy = new WebProxy
    {
      // TODO: replace the placeholders with your Bright Data's proxy info
      Address = new Uri("http://<brightdata_proxy_host>:<brightdata_proxy_port>"),
      Credentials = new NetworkCredential("<brightdata_proxy_username>", "<brightdata_proxy_password>"),
    };

    // define an HTTP client handler with the given proxy
    HttpClientHandler handler = new HttpClientHandler
    {
      Proxy = proxy,
    };

    // disable SSL verification
    handler.ClientCertificateOptions = ClientCertificateOption.Manual;
    handler.ServerCertificateCustomValidationCallback = (httpRequestMessage, cert, cetChain, policyErrors) =>
    {
      return true;
    };

    // initialize an HttpClient instance with proxy integration
    using HttpClient client = new HttpClient(handler);

    // the target URL
    string url = "https://httpbin.org/ip";

    // send an async GET request to the endpoint
    HttpResponseMessage response = await client.GetAsync(url);

    // read the response content as a string
    string responseBody = await response.Content.ReadAsStringAsync();

    // print the response to the console
    Console.WriteLine(responseBody);
  }
}
每次运行该脚本,你都会看到不同的出口 IP。
使用 Bright Data 的自动轮换代理,让 HttpClient 代理轮换变得前所未有的简单!
结论
通过本篇代理集成教程,你已经了解了为什么需要使用代理,以及如何在 C# 中配合使用 HttpClient 和代理。也明白了如何在 .NET 默认的 HTTP 客户端库中轻松完成代理设置。
另外,此文还强调了为什么依赖免费代理可能存在巨大风险。最佳做法是使用来自值得信赖的供应商的代理。而在众多顶级旋转代理提供商中,Bright Data 不容错过。
赶快注册账号,开始免费试用我们的代理吧!

支持支付宝等多种支付方式


技术写作
 5.5 years experience
Antonello是一名软件工程师,但他更喜欢称自己为技术传教士。通过写作传播知识是他的使命。